


Cómo crear una pintura digital realista en Photoshop
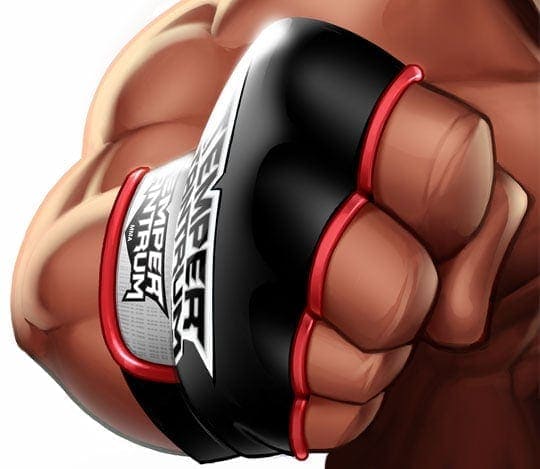
Time for a new tutorial about realistic digital painting in Photoshop. This is a more realistic illustration of a MMA fighter (Mixed Martial Arts). I created this mascot character to be included into an illustrative cartoon logotype, aimed at the printing on T-shirts, of a new brand named Temper Tantrum. You will need a digital drawing tablet to get this kind of rendering.
Digital painting in Photoshop
I have to admit that I’m not completely satisfied with the result, because the process was a bit chaotic, and I had to spent many more hours than I expected. After speeding up the video x10, it still lasted 1 hour, so I had to speed it up x20 to make it suitable for Youtube:
And now let’s explain the way I work when I’m asked for this type of illustrations. As I said before, this is just a serie of steps briefly described more than a tutorial. It would last forever to make a detailed tutorial about this topic.
STEP 1: References

I looked for some references to arrange the pose, when you’re so used to cartoonish style you tend to simplify the shapes too much. After finishing the job, I realize that I should have paid more attention to this step… Lesson learned!!
STEP 2: Sketch
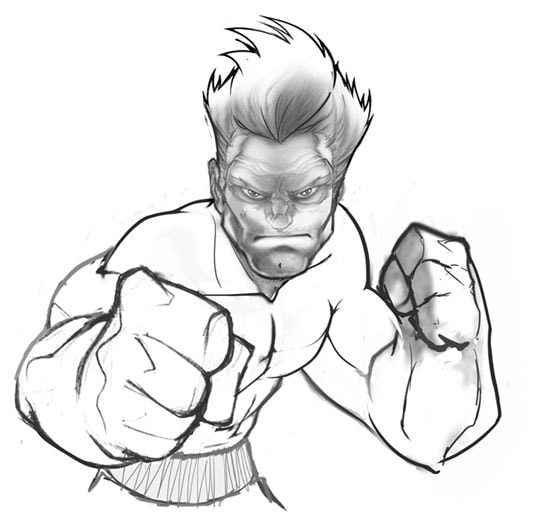
When make a digital painting in Photoshop, I don’t need a very detailed sketch because I’ll remove it at the end. As you can see, the drawing is quite basic, I used Photoshop to make a collage of previous drawings as a template.
STEP 3: Isolating plain colors
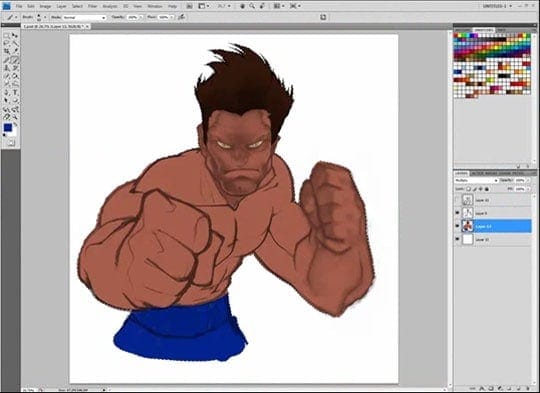
I put the sketch in Multiply mode and I create a new layer below it. On this layer, I’ll paint each area of the character with plain colors of medium intensity. This way we can make quick selections.
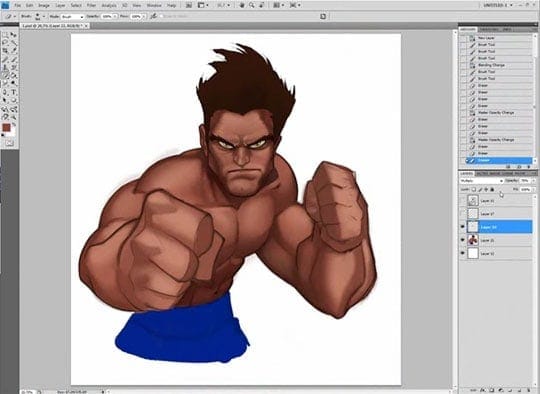
STEP 4: Painting basic volumes
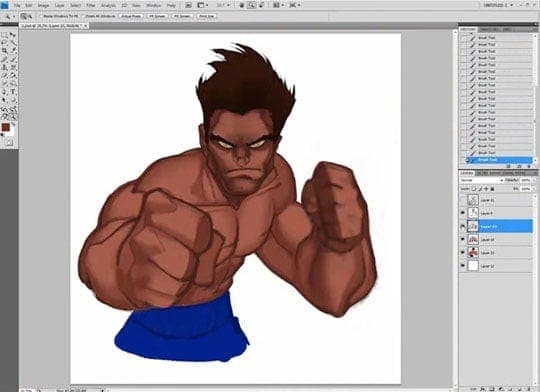
Now I add a new layer above it and I draw with darker colors to give deepness to the volumes. On each stroke, I reduce a bit the opacity of the layer of the sketch, until I make it dissappear.
STEP 5: Adding a bit of light

I add a new layer under the shadows one, on which I’ll paint with a brighter color.
STEP 6: Adding reflections
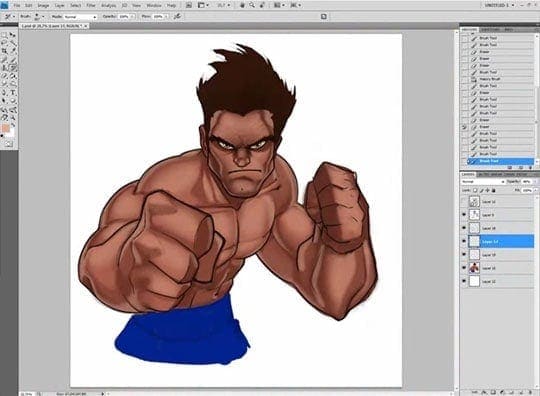
I add a new layer where I’ll paint the light reflected on the skin. This illumination looks now too soft but at the end I’ll put it on Linear Dodge mode to make it stronger.
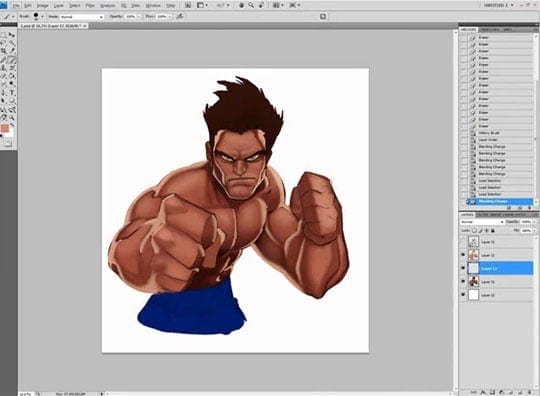
STEP 7: Softing the volumes
Now that I have already ended the color sketch, I’ll flat all the layers except the reflections one, and I go mixing and softing the gradients, adding more and more detail. I disable the reflections layer for this, notice how it looks when I enable it again and I put it on Linear Dodge mode:
STEP 8: Cleaning and adding volume
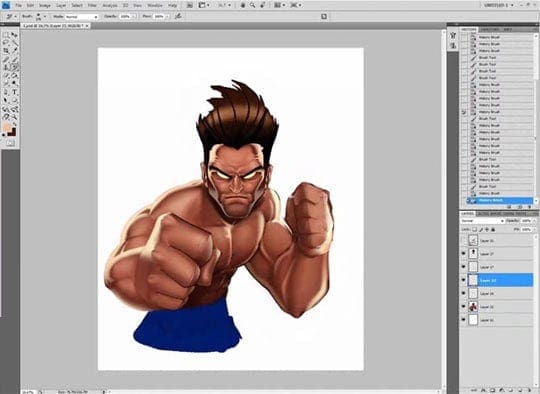
I continue softing the gradients, I correct the anatomy, and I add darker and brighter tones to reinforce the volumes.
STEP 9: Details
For the clothing I follow the same procedure, plain colors on the general shapes first, and then I go adding volume and details.
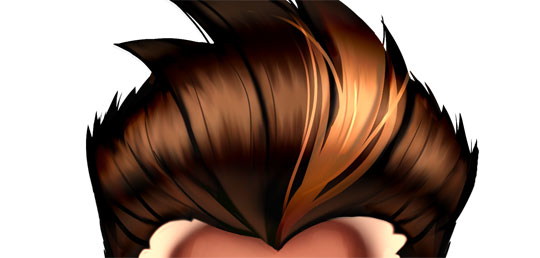
For the hair, I add layers in different fusion modes (Screen for the reflections and Linear Dodge for the blonde hair lock) and I use the Smudge Tool to fuse the shades.
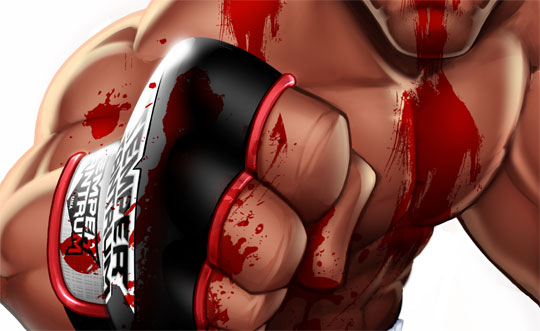
For the blood, I use a layer in Multiply mode with red color saturated to the maximum.
STEP 10: Change of plans
The client made some changes:
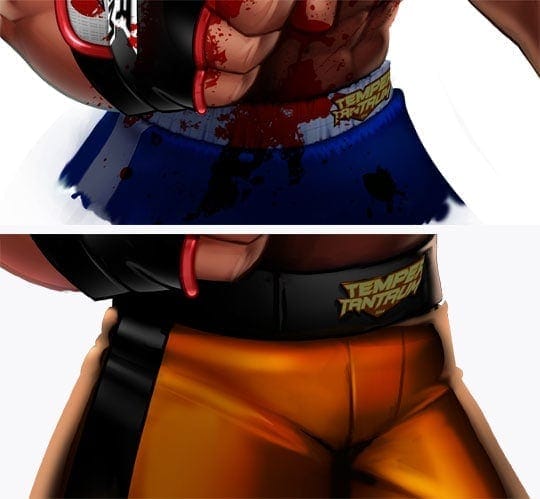
The pants gave me a little trouble, I liked better the first one, but the client chose the second.
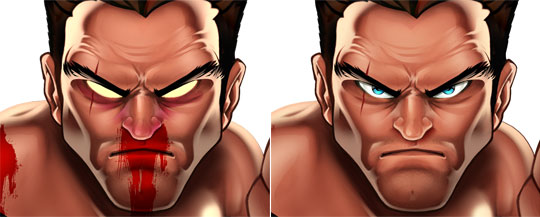
Same for the face, I liked better the first one, but he chose the second.
STEP 11: Design of the logotype
![]()
Any questions?
I guess there are lots of them, hehe. If you need me to describe any steps, you only have to leave a comment.
No Comments